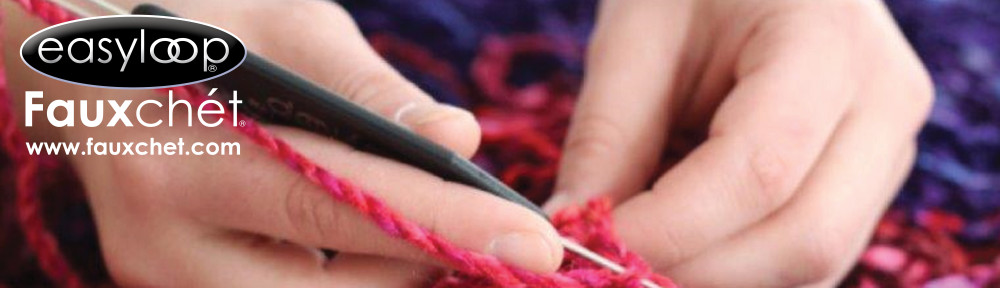
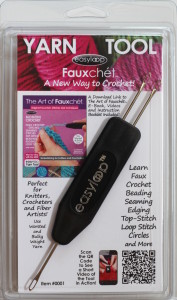
 The Easyloop® Fauxchét® Yarn Tool comes with an instruction booklet with easy scarf patterns and a Free link to download The Art of Fauxchét® E-Book plus How-to Videos. Fauxchét® is a whole new way to crochet . . . with a needle, not a hook! Learn faux crochet stitches, beading, seaming, edging, circles, loop stitch, top-stitch and more!
Buy Tool, Item #0001, $9.99
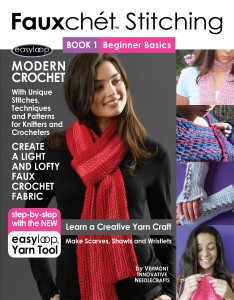 PRINTED BOOK: Fauxchét® Stitching, Book 1, Beginner Basics. This beautifully photographed 64 page printed book contains step-by-step stitches, creative techniques and easy patterns. Create your own Scarves, Shawls and Wristlets with the easyloop® yarn tool and worsted and bulky yarns.
Buy Printed Book, Item #0002, $20.00.
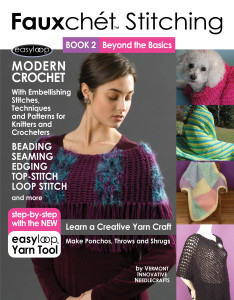 PRINTED BOOK: Fauxchét® Stitching, Book 2, Beyond the Basics. This beautifully photographed 64 page printed book contains step-by-step finishing techniques and beautiful patterns. Create your own Ponchos, Throws and Shrugs with the easyloop® yarn tool and worsted and bulky yarns.
Buy Printed Book, Item #0003, $20.00.
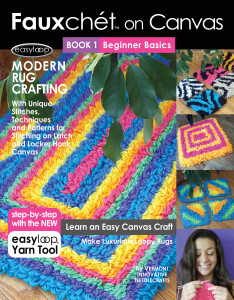 E-BOOK: Digital Format, Fauxchét® on Canvas, Book 1, Beginner Basics is perfect for latch hook canvas crafters and fiber artists. The book has 64 pages of fauxchét® on canvas stitches, techniques and patterns. In BOOK 1 you’ll make Luxurious Loopy Rugs with a variety of worsted yarns and latch hook canvas.
Buy Digital E-Book, Item #0012, $14.99.
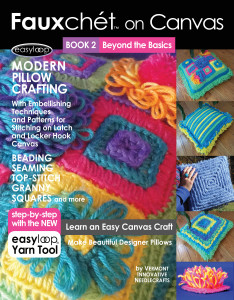 E-BOOK: Digital Format, Fauxchét® on Canvas, Book 2, Beyond the Basics is perfect for latch hook canvas crafters, yarn lovers and fiber artists. It’s filled with 64 pages of fauxchét® on canvas finishing techniques, ideas and a variety of patterns. In BOOK 2 you’ll learn to make Designer Pillows with worsted and bulky yarns and latch hook canvas.
Buy Digital E-Book, Item #0013, $14.99.